
GRAND RAPIDS, Mich. — We have them in boxes and drawers all over the house. Sometimes picture frames make it onto the wall, sometimes they collect dust. Now, you can transform them into creative works of art.
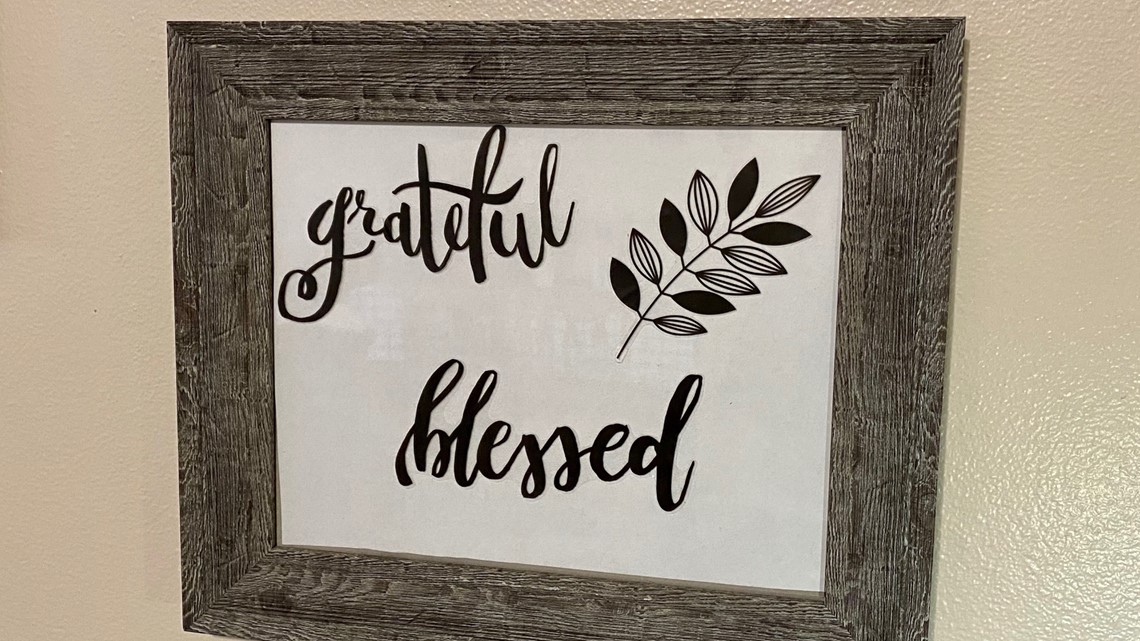
Word Art
Supplies:
- Picture frame (any size)
- Stickers
- Paper (any color, but best to coordinate with the stickers)
Instructions:
- Take out the stock photo from the frame
- Cut your paper to fit inside the frame
- Take out the glass, and place word stickers on the outside of the glass. You can use wall decals, words, or even just shapes depending on the look you want.
- Put the glass into the frame first, followed by the paper and then finally the backing.
Other tips:
You can leave the glass blank and write on it with a dry erase marker. Stickers easily peel off of glass so you can change up the look any time you want!
Try playing around with light letters over a dark background, or dark letters over a light background.

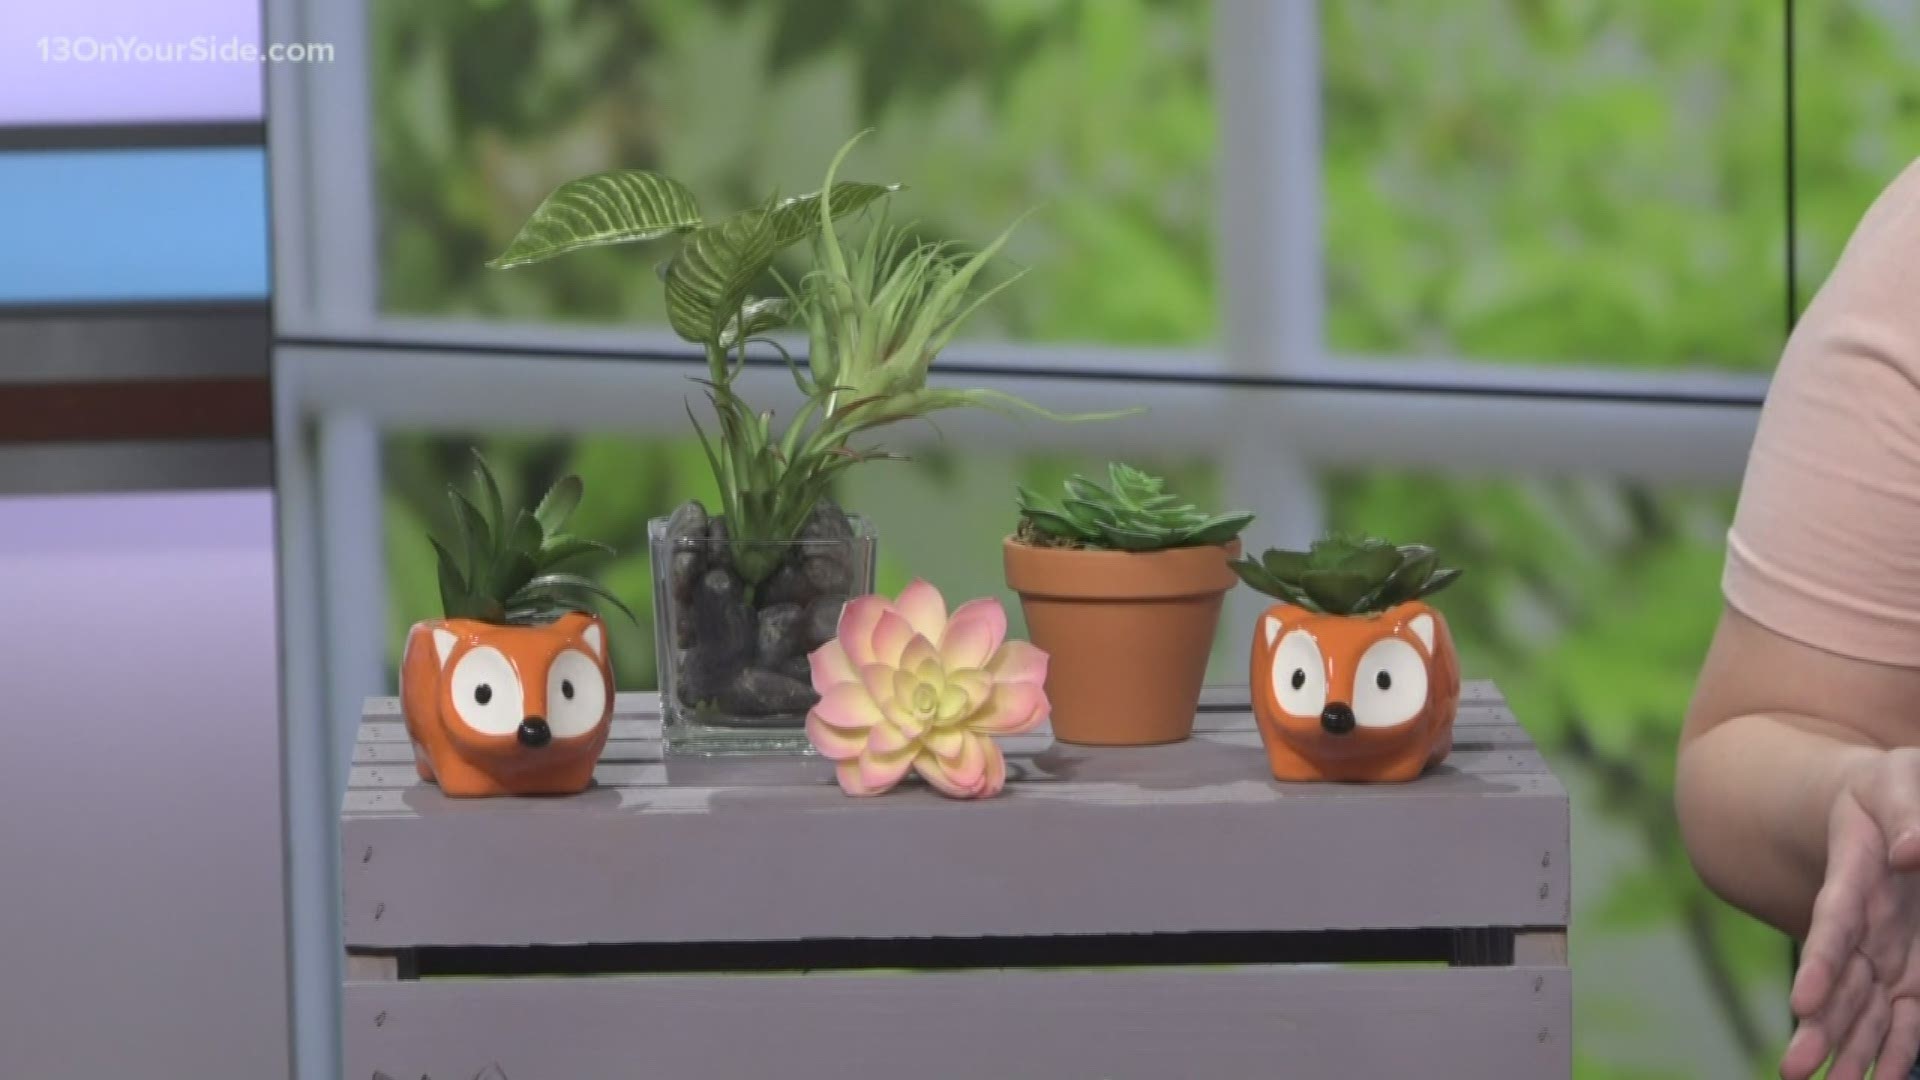
Succulent Frame
Supplies:
- Small picture frame (I prefer a 4X4)
- Fake succulents
- Decorate filler (rocks, sand, fake grass)
- Paint (optional)
Instructions:
- Open frame and take out stock photo, then re-assemble frame.
- Optional: Paint the frame a different color
- Place filler material onto glass until the cardboard backing is covered.
- Place fake succulent(s) on top. You may need to trim the stem so the succulent lays flat.
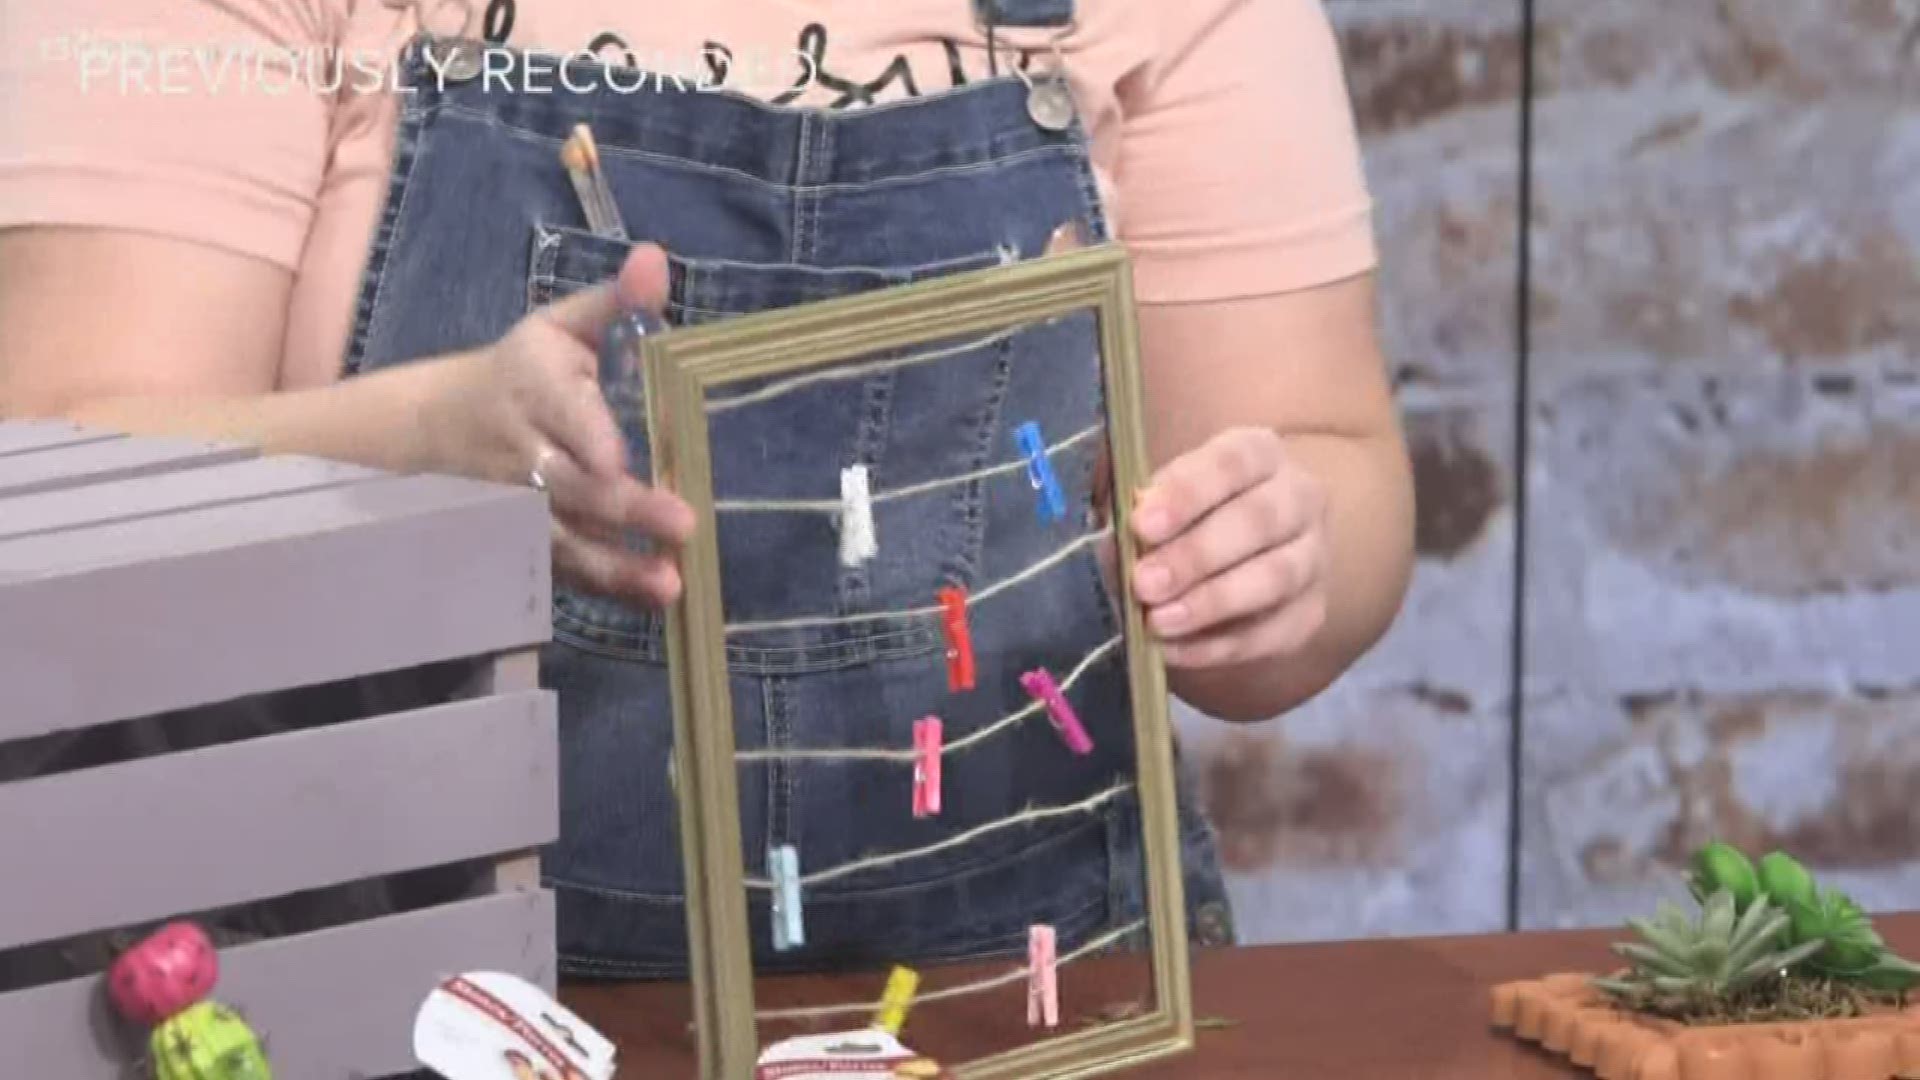
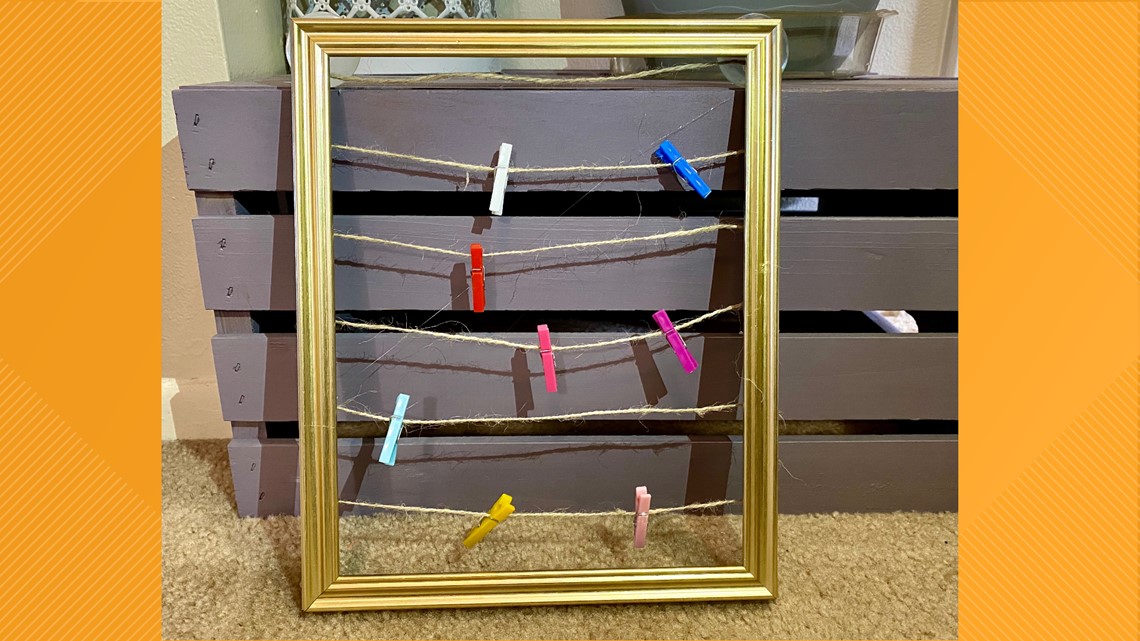
Photo string
Supplies:
Large frame (at least 8X10)
- String or ribbon (the Dollar Tree has a kit with string and small clothespins already in it, or you can buy them separately)
- Small clothespins
- Glue (I prefer hot glue, but any glue will work, even Elmer's glue)
- Optional: Photo mounts
Instructions:
- Take backing and glass out of frame.
- Glue beginning of string in the upper left hand corner of the frame, about 1 inch from the top.
- Run the string across the opening of the frame and glue down the piece that touches the right side of the frame.
- Run the string down about one inch along the frame edge, then secure with glue again.
- Now, run the string back across to the left side.
- Continue doing this until you reach the bottom. Leave about one inch between the last string and the bottom of the frame.
- Attach photo mounts, suction cups or any other hooks to the top corners of the frame for hanging. You can also run the leftover string along the frame's top to hang.

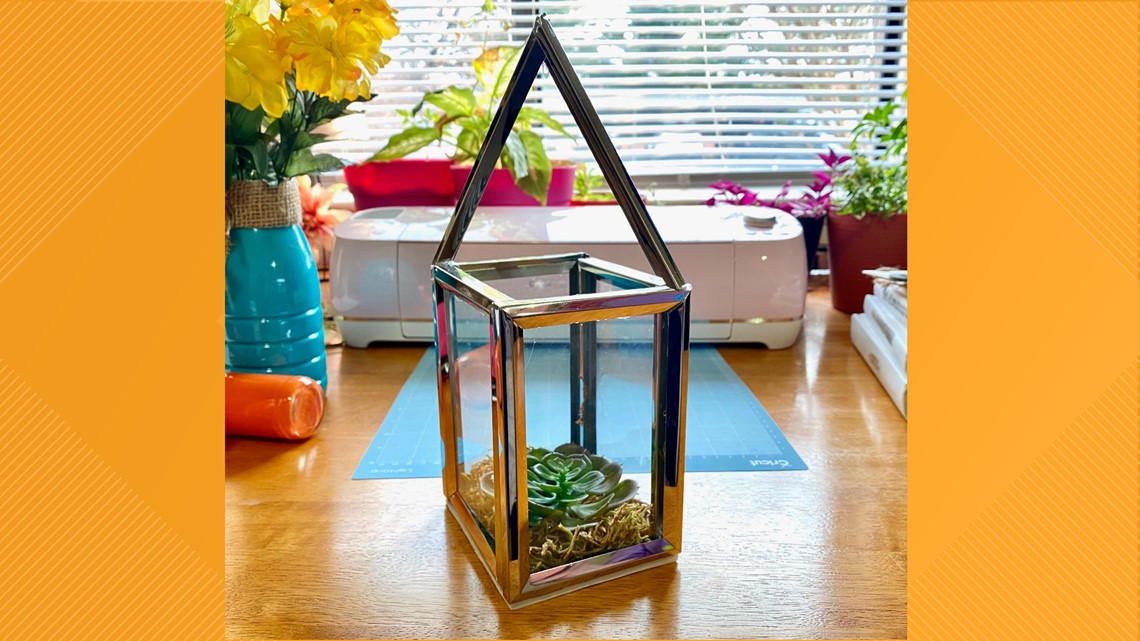
Frame Terrarium
Supplies:
- 5-6 frames of the same color (I chose silver, 4X6)
- Fake succulents
- Filler (rocks, sand, fake grass)
- Glue (I prefer hot glue for this project)
Instructions:
- Remove the backing from all of your frames.
- Secure the glass in the frame with glue (the glass in my frames would fall out without the backing, so i glued the edges)
- Glue the edges of 4 frames together, to create a rectangle. You can use whichever side you prefer.
- Attach the rectangle frame to one of the pieces of glass as a base.
- Fill the inside of the terrarium with filler, then place fake succulents on top.
Roof option 1:
- Rip apart one of the frames (If it is from the Dollar Tree, the metal should be weak enough)
- Glue two pieces together to make a point.
- Attach to the top of the terrarium.
Roof option 2:
- Take out the glass and backing of two more frames.
- Glue two sides together, and place on top of terrarium like a roof.
Other tips:
You can place anything you want inside the terrarium. Some people like to make fairy gardens. Those supplies are also available at the Dollar Tree.

RELATED VIDEO:
Check out these other DIY crafts on My West Michigan:
►Make it easy to keep up to date with more stories like this. Download the 13 ON YOUR SIDE app now.
Have a news tip? Email news@13onyourside.com, visit our Facebook page or Twitter. Subscribe to our YouTube channel.